Saturday, July 14, 2012

How To Make a Bottle Cap Wind Chime

I am on a wind chime making frenzy! I just can't help myself. Something about found objects has been really inspiring to me lately. It all started with a crushed up beer can and some old shards of glass, but I couldn't stop there- I had to do more with this idea. I decided to experiment with some materials I saw show up very often when I scoured the internet for wind chime inspiration: bottle caps. I spied some great examples from various sources.....

This bottle cap wind chime by Pia Chaib
is so famous on Pinterest right now!
By Katrina Woerner

By Green Products
I definitely wanted to make one of these things, but I didn't want to leave my readers out of all the fun. So, I've decided to make this tutorial explaining how I created my own interpretation of the bottle cap wind chime. Let's get started, shall we?

Instead of throwing them away,  
mi amigos now drop their caps into
this re purposed coffee can.
Pretty crafty, eh?
 1. Collect your Bottle Caps

To make a moderately sized wind chime you will need to collect at least 40 to 50 caps. My wind chime ended up with over 70 caps in all. The exact amount will vary depending on how big you want your finished product to be. But heck, even if you run out of caps there are plenty of ways to improvise.

Personally, I happen to have a good connection when it comes to bottle caps supply- Many of my friends and family are beer enthusiasts that provide a steady stream of interesting caps.

It doesn't take long to collect enough bottle caps for your wind chime. I easy accumulated enough to fill the entire container within a month or so.


 2. Other Supplies You'll Need
 This is where you get to be creative. Exactly which additional materials you'll need depends on your personal taste and vision for your project. Gather up a variation of the following items:

  • Metal Wire- You need this to link your bottle caps together. I used a thick aluminum 10 gauged wire, but you can also use thin 24 gauge (or any other size of you like.) You can pick this stuff up at any craft store or even Wal-Mart. Some wind chimes utilized circular metal hoops, like the ones used in jewelry making, but I found that wire was a lot cheaper and simpler to work with. By the way, you will also need some pliers and wire cutters (or scissors.) Don't ruin your hands by trying to manually bend the wires! These tools will make your life easier, trust me.
  • Center Piece- This will be your base that you attach all your bottle cap links to. It just needs to be a sturdy and intriguing item. I encourage you to use a recycled found object! These random pieces of "junk" can end up being the perfect fit for your wind chime. Some great examples of center pieces include a vegetable steamer, An old CD, tree branch, tin cans, metal strainer, or like in my case, some salvaged gears from my old bicycle.
  • Piercing Tool- Something to put holes in your bottle caps. The best options I found were either a hammer and punch or an electric drill, but I'm sure there can be others methods that work as well.
 
2. Making the Holes
 Use a hammer and punch or a drill with a small bit, depending on your preference and availability. 


Drills are faster, but leave a jagged edge around your
cap's holes. Punches provide a much cleaner hole, but
require more effort, and can bend the bottle cap
if not pierced properly.

I'm going to assume that you already basically know how to use the hole punching tools, or know someone who does.

It's pretty simple- lay the bottle cap flat face down on a piece of scrap wood (NOT your mom's favorite table!) and drill or punch the hole in near the edge of the cap.
 
Protip: Don't drill or puncture your hand, that would suck! Remember to be careful with this step. Don't be afraid to ask for help (I know I did.)


3. Constructing the Chains
Once all your bottle caps have holes in them, it's time to make the chains. Take your wire and cut a moderately short length. How much wire exactly is up to you, depending on how long you'd like each chain link to be. For the record, my wires were cut probably around 2-1/2 inches long.

 In my opinion, it's easiest to just eyeball it and adjust the chain links until you find a length that's pleasing to you. After you find a good chain link size, go ahead and cut out a few extra wire pieces- you'll need them.


Hook the length of wire through the bottle cap's hole. Leave one end with a long "tail." You'll be using this extra wire to attach the second bottle cap.

Wrap the length of wire around itself.

Tightly secure the wrapped wire. Use pliers to press the loop closed so the bottle cap will not fall off.
One bottle cap hooked on. 
Now, repeat this process with the remaining length of wire and another bottle cap.
Wrap...
Secure....
One bottle cap chain link complete!
Continue attaching the links together until you've reached
the desired length of your wind chime. I ended up using
six or seven bottle caps for each chain.


4. Attaching the Chains & Center Piece
This step may vary a little depending on what you used as your center piece. You will have to find a way to hook the centerpiece and the chains together with the wire. In some cases, like this particular project, it's fairly easy to wrap the wire around the base. Unlike my last wind chime project, where I had to drill holes into my center piece in order to attach the chains.


To hang my wind chime I made a weaving out of fishing wire around the bike gear and tied it off at the end. Simple, quick and effective. A piece of fishing line or regular wire would work, too.
All of the chains finally attached to the center piece.  My wind chime is now complete!
5. The Finished Product

The metal disks I used on the bottom of my wind chime are from cans of dough. I love the rusty patina they're developing after being exposed to the outdoors. A few random found object additions to your bottle cap wind chime can really create a nice embellishment. Plus, your bottle caps will make more sounds when they bump up against these items.

 If you want your wind chime to look "fuller,"
you could easily add more bottle cap chains
down the middle to make it look more dense.
Personally, I chose to only add chains to the
outside of my center piece, but I may go
back and add additional chains one day soon.


Serving up bottle cap realness.
If you end up using this tutorial for help, I wanna see your finished wind chimes! And as always, if you have any questions at all about this subject, by all means leave me a comment.

Saturday, June 23, 2012

The Outsiders Show

Look familiar? It's my "Horny Deer" painting I did for this tutorial.


Earlier this month I was featured in a local underground art show called The Outsiders! It was a wonderful little art fest that lasted a week and included a different event every day. I love shows like this- the variety of artistry and talent really brings the entire creative community together. It mainly focused on getting exposure to up-and-coming artists (AKA "Outsiders") as opposed to seasoned art show veterans. Anyone who was brave enough to submit pieces was allowed to show their work- this brought a lot of fresh faces out of the wood work for their first ever art showing. There was also a number of live performances from bands of a variety of different styles, with everything from a David Bowie cover band to Middle Eastern flute playing.

It was a great lineup that proved to be a very unique artistic experience. My favorite event by far was opening night, where everyone was given the opportunity to take up paintbrushes for a massively interactive painting fest. Dozens of wooden palettes and doors were available for anyone to make their mark on. The energy was very cool and inspiring- there were tons of creative minds all working together on a single task at once.

Me amongst the crowd painting my little corner while a live band played in the background. Not one of my most glamorous looks (it was very hot in the building) but I was happy to contribute to this awesome interactive artwork anyways.

All the best local artists came out to paint that night, including my friend Erin and my cousin Ederick. I loved seeing all the different styles that people painted in.
Speaking of interesting styles, there was a lot of really intriguing work in "The Outsiders." I was amazed by the amount of talent that had previously been undiscovered. Here's some of my favorite pieces I spied during the show. By the way, all the photography was either taken by Eye Ball Art or Katherine Wooton. Thanks for getting some really getting nice shots of the art!

The works submitted by Steve Delong were especially fascinating because I could never figure out exactly what medium they were. Apparently, this effect was achieved by changing the color of metal with chemical solutions. Pictures can't really show how beautiful and shiny this piece is in real life. Never seen anything like it before!


Nina Rego made these gorgeous paper maiche figures. I would really love to pick this artist's brain, she seems like quite the character. About this piece, she said: "Hunger in Darfur never looked so colorful."

It's an artwork by me that this blog has never seen before! It's a modernized copy of Ralph Steadman's "Aspen Nights" I did for an assignment in school.

One of the walls with all the artwork hung on it.
I see you,  Skeleton Man! He eerily stares at viewers from behind band equipment. I submitted 6 artworks to the show in total, including a few familiar faces.

I love birds, especially when they're made completely out of buttons.
Another sculpture by the same artist, Crystal King. This was the first time her work was ever seen in a gallery, and she had some of the most engaging pieces in the show.

Check out this incredible hand made clock by Dan Diehl! It is constructed completely out of wood, except for a small motor that winds the clock, and it's 100% functional. Very old school.. just imagine how precisely the gears have to be cut out in order for everything to work right.
I wish I knew the whole story behind this wicked neon lights shark. I suspect it's made out of recycled materials? All I know for sure is that the artist's name is Eric ElectricDirt...(Cool name, man)
Since we're on the subject of recycled materials, I definitely should mention this series of odd skeletal figurines by Tony Prete. As the story goes,  he was instructed by his employers to take some lead to a landfill, but instead he melted it down to make these eerie sculptures. I am told that the glass enclosures were also rescued from being thrown away. This guy has great taste when it comes to "trash!"
One of my favorite artworks I've ever done, and I haven't even really documented it on this blog yet. You will hear more about this piece one day soon, I promise!
Above is work by the very popular Tim Showers, who is a regular in the Charleston art circuit. He shares a wall with a very shy artist who is showing her artwork to the world for the first time. I think that this is symbolic of "The Outsiders" show's ability to bring a colorful variety of people together for the simple purpose of celebrating art.
Phil Hyman in his natural habitat- spray paint and intricate stenciling work.
Lastly, I have to mention that all of this was organized by this awesome artist and curator named Phil Hyman. He does almost all the cool shows in the Charleston area. If you're in the historical downtown district of South Carolina and see a quirky collection of local bohemian art, chances are it was because this guy made it happen. I am grateful for people like him because it isn't an easy thing to run an art show, despite the fact that they're completely vital to keeping the art community alive around here. I just wanted to shout Phil out to let him know that his dedication to bringing art to the masses really does make a difference in many artist's lives. Thanks man, it was an awesome experience.  (And make sure to like him on Facebook!)


UPDATE: I've participated in another show by Phil! Check out the new art here.

Tuesday, May 22, 2012

Wreck This Journal...Part Two!


Hey guys! Some of you may remember a previous post I did a little while ago about my beloved Wreck This Journal. Well, it's back, and it's more wrecked than ever. Once thing I noticed right off the bat is how drastically the journal changes over time. I had to hurry up and take pictures before it evolved into a completely different creature again!

  Needless to say I've been working with my WTJ a lot lately. It's become my new "busy project" that I do during my idle time (very similar to my boobs piece, now that I think of it!) I feel like I have the freedom to work on more than one page at once, so that keeps things interesting for me. I'm constantly doodling and doing weird mini craft projects now.


Thanks for the idea, Patrick.

One thing I finally finished up was cover and spine of my book. I had a problem with my book trying to "shed its skin" so instead of letting the entire cover peel off, I went ahead and glued down the remaining pieces and colored the spine with crayons. I think it looks wicked now, like a rainbow is trying to burst through the page seams or something.


 I also recently finished the copyright and dedication pages. I tried to insert cryptic secret messages in by highlighting certain words and letters.

I didn't mention this page the first time I wrote about my Wreck this Journal, but I should have. I added my own table of contents and it really got me passionate about using my journal for some reason. Possibly because it's easier to pick a page to work on when they're all listed out in front of you!

Blue Bats Galore.. The instructions page is definitely one of my favorite pages now. I used highlighter, crayons, and a little bit of india ink. "Work against your better judgement" is the only instruction I need to keep in mind.


THE BLOB always scared me when I was a kid.
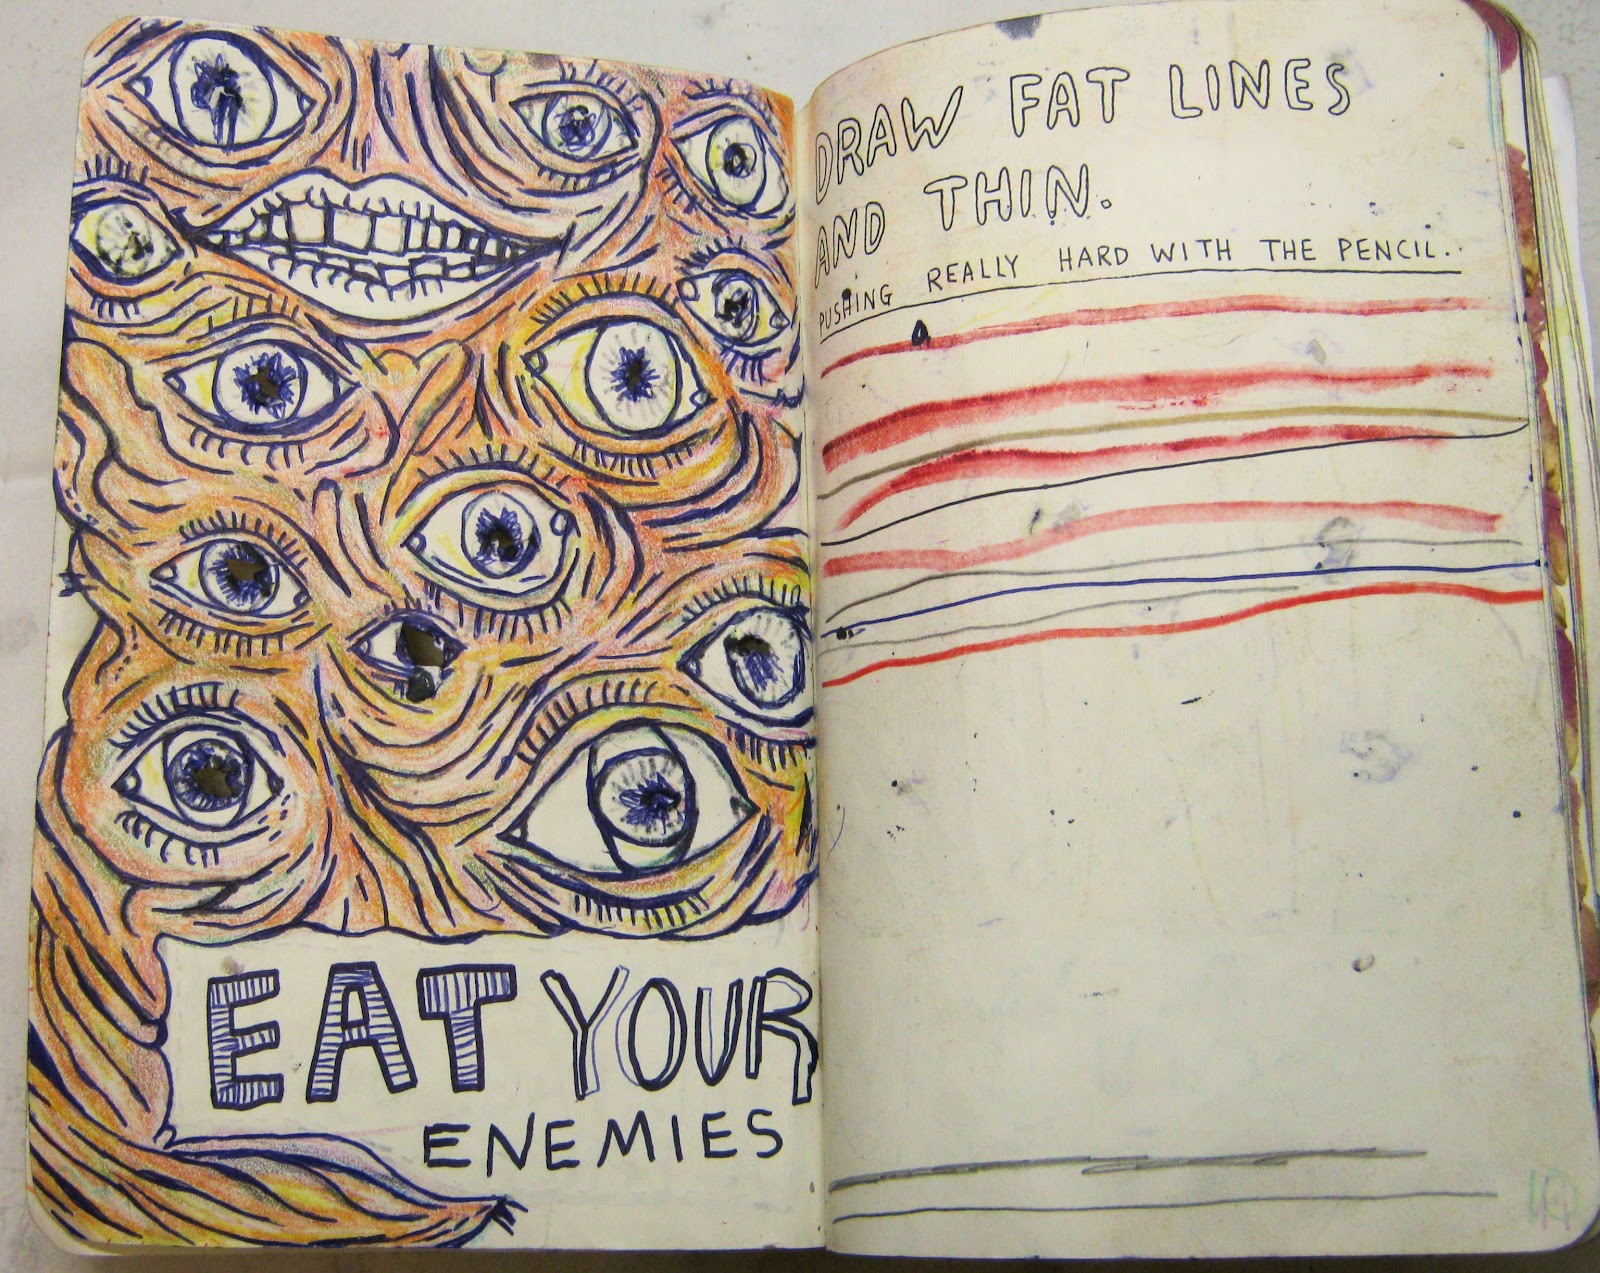
Another one of the classic pages, "Poke holes using a pencil." The first page is watercolor and india ink while the second page is colored pencil. On the second image, I gouged the outline into the paper with pen so that the other side has a cool embossed texture to it. I totally love that kind of stuff. 

Whenever my hands got especially dirty, I made a point to press them down on this page before I washed them. It's scary how cruddy the paper is now.
This is another one of my favorite pages. My boyfriend gave me a bunch of flowers, so I dried them out and glued them in my book. I really enjoy using flowers in my work, their colors are beautiful and they can have a very paper-like texture.
Speaking of my boyfriend, he especially wanted to "help me" do this page for some reason. I can't imagine why! Afterwards, I added some of my troll face stickers, they'll be good for future targets.


Dirt creature!


In the spirit of recklessness, I challenged myself to get more people involved in the process of my book. I got a great opportunity to do this when I went over to my relatives house for this past Easter. I have a lot of little cousins running around that literally jumped at the chance to help mess up my WTJ. They were already playing outside in the yard, so it was the perfect setting to complete some pages which involved getting your hands (or feet) dirty. I definitely got what I wished for, and was soon overwhelmed by piles of dirt clods and patches of dried grass that were donated by my little cousins to put in my book. I have to give them credit for not only their enthusiasm but their creativity aswell. At one point they were just using the dirt clod chunks as crude coloring untensils... brilliant. Wreck this Journal was made for kids, they have such a free spirit when it comes to art.


"Rub here with dirt"
Stand here and wipe your feet.  Drawing out where your feet should go first helps.

Tie a string to the journal and go for a walk..
but where are you going??

These two pages demand that I physically throw the book around. I haven't worked up the gall to do that yet, but I did start decorating those pages instead!

Two of my more stylish pages. Instead of making paper chains, I decided to make paper braids. I also added some laminated bananas to my fruit stickers page...There's five of them I think, and they're super cute. I was going to make them into bookmarks but I like them better this way.  Oh and also, if you didn't notice, I whip my hair back and fourth.
"Sew this page" so far... Umm I think I'm doing it wrong. Still a work in progress..
I will write more about this mysterious creature later.

I added some water color and blue ballpoint pen to my free'd fishies page.
"Color Outside the Lines"Pt. 1
"Color Outside the Lines" Pt. 2
This one's a two-fer. I decided to be a little different when it came to my interpretation of the "color outside the lines" page. Instead of coloring outside the lines, I cut along the lines. In result, I was able to do this cool peep hole effect. I used good ol' reliable crayons, pens and sharpies for the colors and detail.

Another one still in process. Trace your hand. In my case, I traced several.
Magic's in the makeup! So I put makeup all over the back cover of my Journal. Now it's beautiful.

I am no where near finished with my Wreck this Journal, but I'm savoring it while it lasts. It's been a very inspiring experience so far, and I can't wait to get into even more zany journaling adventures. Expect even more updates from me in the future about this subject. There are still so many pages to go until my goal of completely filling up the book...

In the mean time, is there anyone else out there that's in the process of wrecking their own journals? I'd love to see your techniques and interpretations of the directions.

P.S If you don't have a WTJ yet, go out there and get one! It's a great exercise for big and little kids alike.

My Journey With Keri Smith's Wreck This Journal 
1) The Beginning.....
2) WTJ Part Two
3) WTJ Part Three - Vengeance 
4) WTJ Part Four - The Reckoning
5) WTJ Part Five - Return of the Journal (Final)